Physical Properties : Page 19
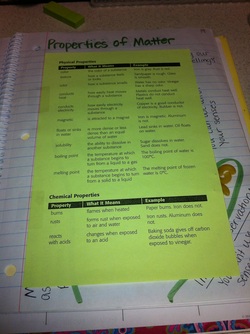
Students were given a copy of this green sheet that gives examples of physical properties thatyou can use to describe matter.
Texture & Observations : Page 19
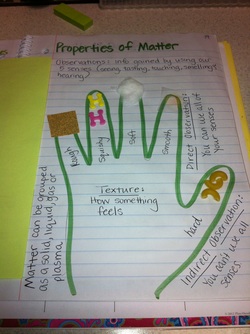
Underneath the green sheet we took notes over observations. We made sure to note the difference between direct and indirect observations. Since we are talking about using phsyical properties to describe matter we also made sure to define matter.
The hand was a way do discuss different types of textures that items can have.
Describing Matter Using Physical Properties : Pg 18
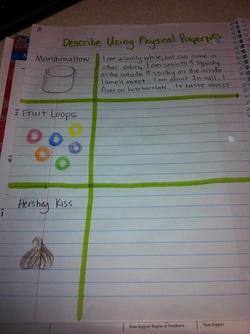
After reviewing ways to describe matter. We did an activity where students wrote "clues' to describe each item. We described the marshmallow together as a class. Then they described the fruit loops with a partner. Finally they had to describe the hershy kisses on their own.
Measurement Stations 1-3 : Pg 16
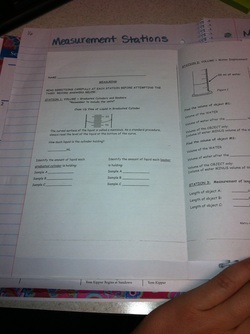
Station 1:
Students were to record the amount of liquid in 3 graduated cylinders and 3 beakers.
Station 2:
Students were to calculate the displacement of two different cubes
Station 3:
Students picked 3 different objects from around the room and measured their length in centimeters and inches
Measurement Stations 4-8 : Pg 17

Station 4
Students found the temperature of 3 different cups of water (room temp water, ice water, and salty ice water)
Station 5:
Students found the mass of 3 different cubes udint the triple beam balance
Station 6:
Students found the weight of one cude using 3 different non linear measurement standards
Station 7:
Students looked through the microscope at a slide of a fish scale and a slide of a feather and draw what they see
Station 8
Students used their senses to describe a peppermint
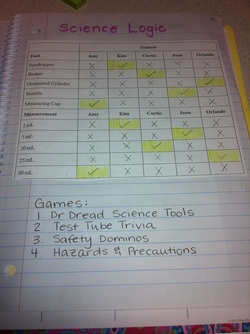
Today as a class we completed the logic puzzle in the picture. These were our clues
1. Curtis used neither the graduate cylinder nor the measuring cup.
2. Juan used a tool that had the 0mL mark at the top of it, rather than at the bottom.
3. Kim's small tool had a maximum capacity of only a few milliliters
4. Juan's liquid had a volume of 5 mL
5. Orlando's tool was more precise than Amy's tool
6. Curtis's liquid volume measurement was exactly 10 milliliters less than Amy's
After completeing this logic puzzle students rotated through 4 different science games.
1. Dr. Dread Science Tools
2. Test Tube Trivia
3. Safety Dominos
4. Hazards and Precautions
After playing each of the four games students were to create a game advertisement for their favorite game.
SpongeBob Lab Safety : Page 13
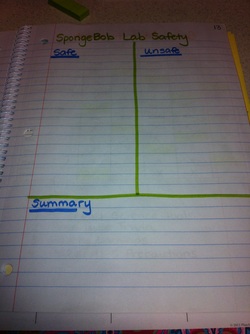
Today we read the
SpongBob Lab Safety article which we borrow from the Science Spot. As we are reading students are writing down safe and unsafe behaviors. When we are finished reading they write a summary about what they read.
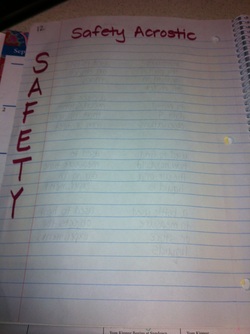
After completing the SpongBob Lab Safety reading students are required to complete and "11 o'clock" activity on page 12. Students had to write the word acrostic down the left side of their paper and then write a complete sentence that had to do with lab safety.
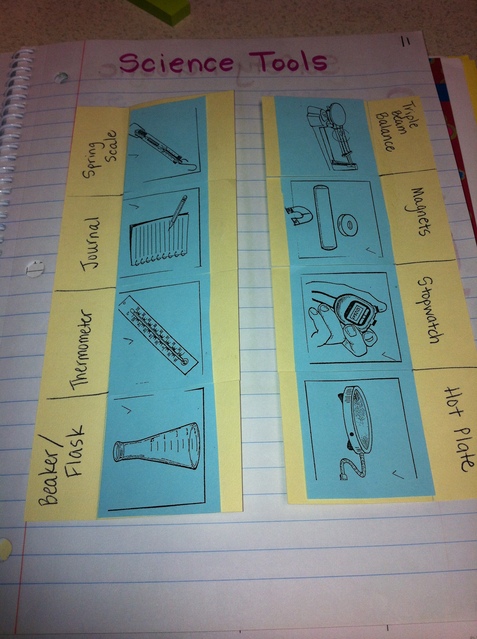
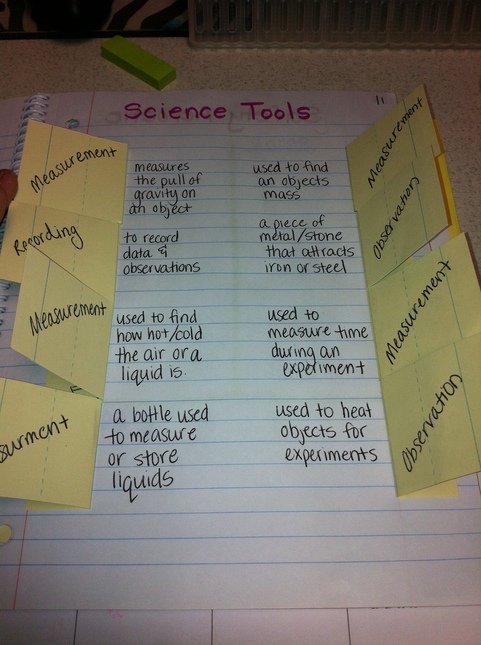
Science Tools : Page 11
Together we create a mini flap book for 8 tools that students are required to know for 5th grade science. As a group we decide what type of tool is it; does it measure something, is it for observations and we write that on the underside of the flap. Then we come up with a definition for the tool as a group.
Science Tools : Page 10
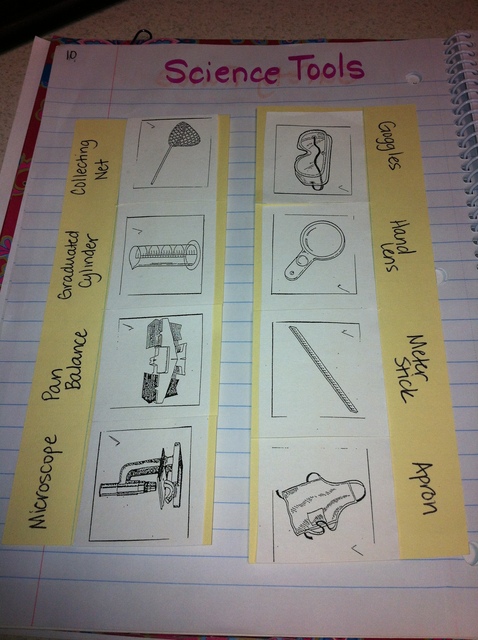
After modeling 8 tools then the students work with a table partner to come up with description and definitions for the other 8 tools.
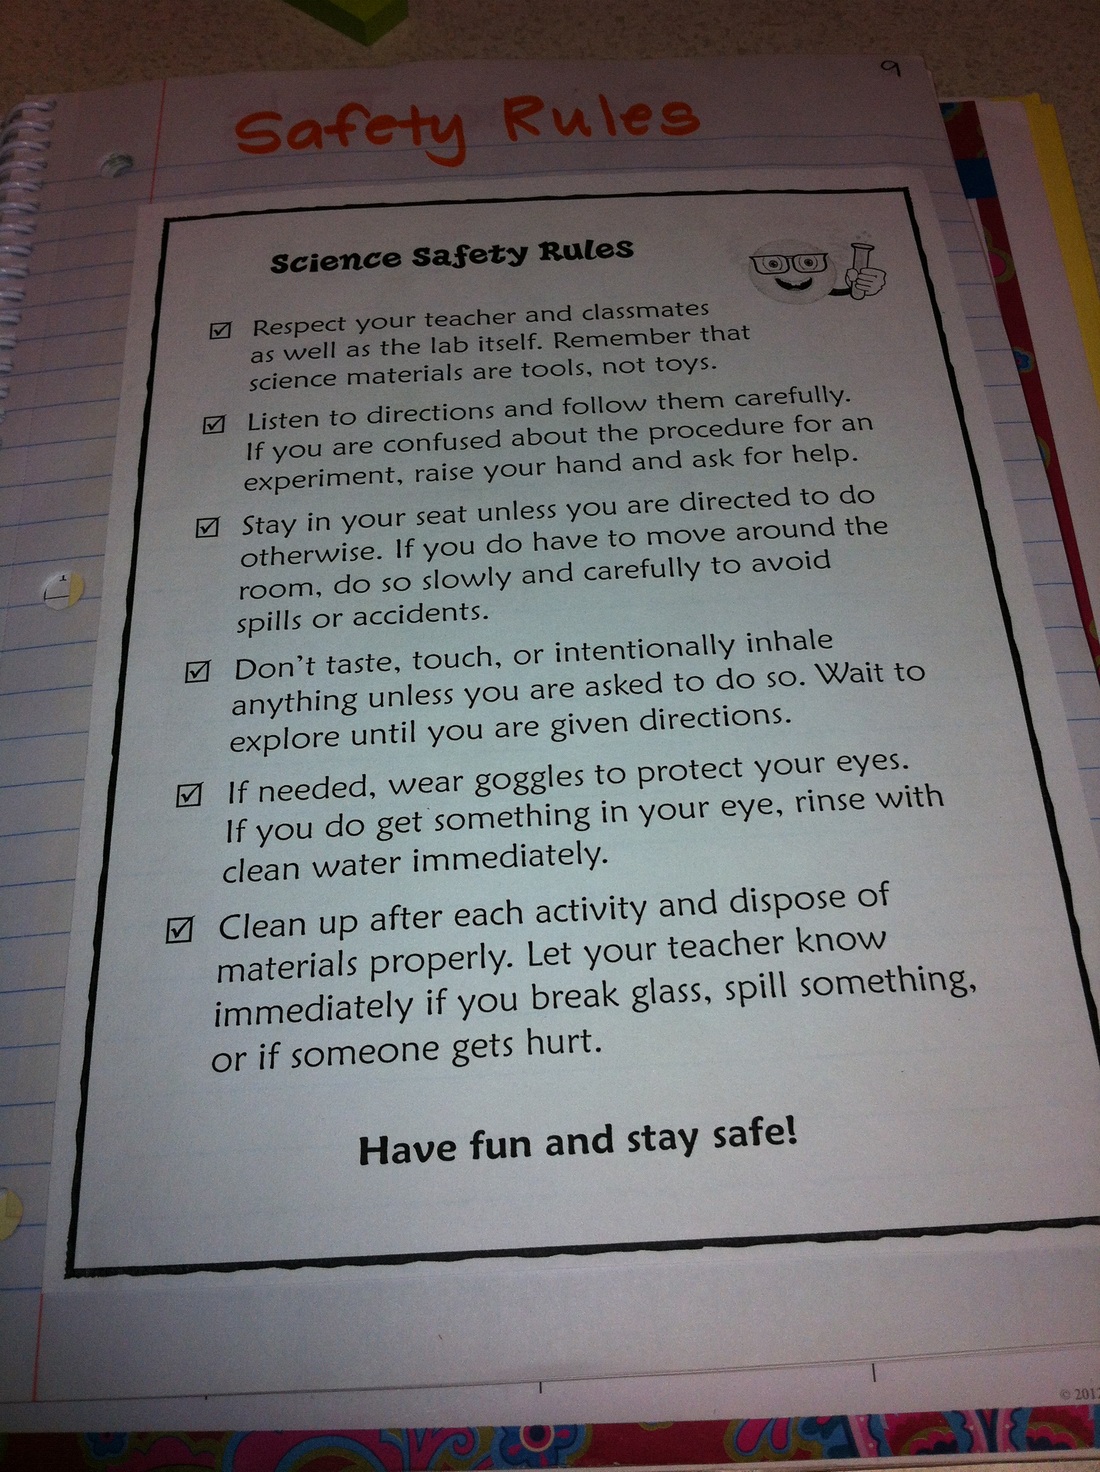
Safety Rules : Page 9
We start the year with Science Safety Rules and make sure to include a copy in our journals. This year after discussing the rules on this sheet we completed the Where's Safe-T activity from AIMS Education.
Why are Safety Rules Important : Page 8
Then students are required to write a letter to me with 3 reasons why Safety Rules are important and explain.
 RSS Feed